In the Salesforce Classic version when attachments are being used, items are actually added to a specific record. They are not placed under the ‘Files’ tab. In the Lightning version, however, when an item is uploaded to Salesforce it is stored as a ‘File’. It can be associated with records but it is also available under the ‘Files’ tab.
So, if you are using the Lightning version - and you need to map your items to “files” have no fear...Titan is here...and files can easily be mapped to your Salesforce account.
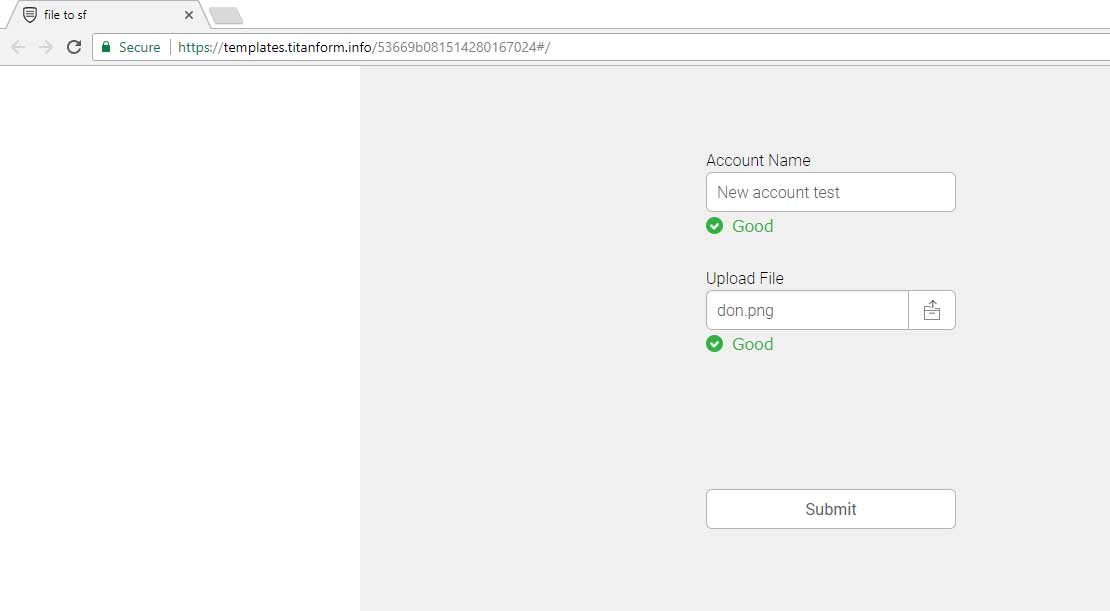
In the following example we will create a small form that is integrated with salesforce and once data is submitted in it this will create a new account and store the file under it.
Follow the step by step instructions:
| 1- | Create a new blank form |
| 2- | Move the submit button down |
| 3- |
Drag a Textbox element. From the: Elements panel > Basic > Input > Textbox |
4- |
Drag a FileUpload element. From the: Elements panel > Basic > Input > FileUpload  And change its label to ‘Upload File’ in : Properties panel > Element > Settings > Basic > Label  |
5- |
|
6- |
Set your integration: - Authenticate with Salesforce  - Press on ‘Add object’ button - Select the ‘Account’ object from the dropdown  - Now map the Account name field in SF to your Account name field in the form.  - Now map the file upload element to 'File' in SF. - Press on the ‘+’ (Add child) button on the right side of the first integration line. - Select object: Content version  - map fields: Notice the since this is a child object the ‘First publish location ID’ is mapped To #1 Account , Record ID - Map ‘Version data’ to file upload - Press "Apply"  |
7- |
You will now see 2 integration lines : Account and Content Version (as a child object)  |
8- |
Press "Apply" and save your form. |
| 9- |
You can now test your form by publishing it as URL |